The Civetta, 230 megapixels HDR panorama camera has always been a flagship product of Weiss AG. It is also commonly used by professionals from different industries to produce 2D/3D digital masters, including oil&gas, aviation, cultural heritage, law enforcement, public safety, scenography, filming and factory spaces.
Some of the clients have been benefits from its high resolution and automation in 360° x 180° HDR panorama capturing, while some others are using the Civetta for 3D reconstruction. While using the panoramics as an input for 3D photogrammetry modelling is still not very common, Weiss AG enables the Civetta camera to generate both fish-eye lens images and panorama at the same time. It enables users to choose the types of input they desired, based on their needs and resources.
This article will go over the general steps of creating a 3D model based on the fish-eye lens images captured by the Civetta, and all the screenshots are generated from the tutorial video here: https://www.youtube.com/watch?v=p2Sik9N06p0&t=3134s
The author only used the medium accuracy setting to process the dataset to enable a faster showcase of the process, yet one can also visit this video to look at a high accuracy result of the 3D model: https://www.youtube.com/watch?v=iN1LkF1y6s4
The dataset used in this article/tutorial video is a series of photos of the Qing Yang Si Ku Si Cave No.165. The images are captured by a reseller and user of Weiss AG. This article will only cover the process of processing images from Civetta only, a combination method of using both Civetta and a DSLR camera will be covered in the future article/tutorial.
The Capturing
The Civetta is provided as a standardised procedure for any user with or without a photogrammetry background. Civetta is controlled by a touch-screen remote controller, the user only need to click “start” and the Civetta will automatically turn 360° to capture HDR panorama images. The default setting suits for most of the situations, including in extreme environment, therefore, the user do not need to adjust any setting in the scene.
The capturing process can be watched in here: https://www.youtube.com/watch?v=RhPJM_wlByc&t=5s

1. Import Images
The Civetta will first capture and save images from different exposures as CR2 files. One can use software like ENFUSEGUI to convert these images into tiff.

User can drag images into a chuck.

2. Camera Calibration
Once the images are imported, the user should choose “tool -> camera calibration -> select “fisheye”.

Do not forget to save the setting after you change the camera calibration setting from the default “frame” to “fisheye”.
3. Masking
Select one image, and choose the selection tool, right-click, then select the scissor option, which gives you more flexibility in selecting the area to keep or discard.


After you circle the area to keep, you might realise the area are inverted, you need to make sure the area to keep is bright and the area to ignore is dark. You can right-click the selected area and choose “invert mask”.


Then you can save your work, and right-click the images, choose “export mask”. You need to remember where you saved the mask file and the file name. Then you select the rest of the images in the chuck, right-click “import mask”. Make sure you have copy-and-paste the right file name into the setting before import and make sure you are pointing at the right folder/destination when the window pops up after you click “OK”.


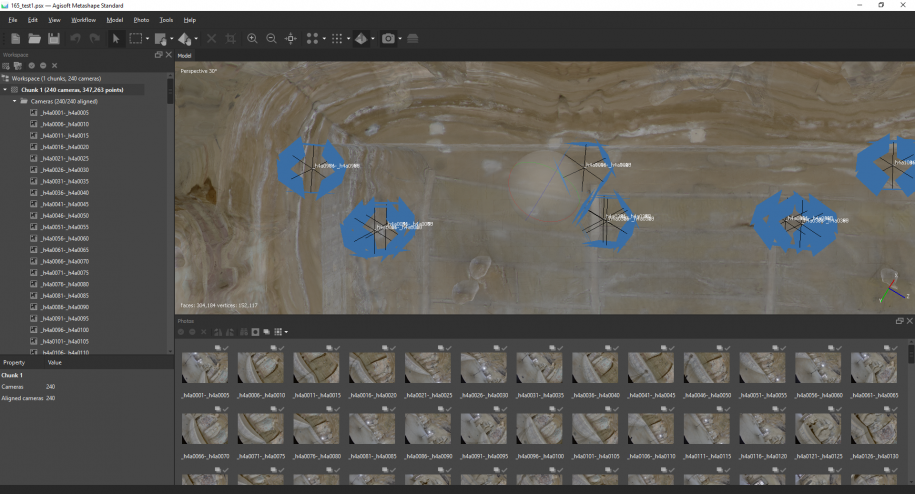
4. Workflow – Align Photos
In the top bar, choose “workflow -> Align Photos”. There is an option to select the level of accuracy, the user should adjust it based on its hardware limitations.


5. Workflow – Build Dense Cloud
In the top bar, choose “workflow -> Build Dense Cloud”. There is an option to select the level of accuracy, the user should adjust it based on its hardware limitations.

6. Workflow – Build Mesh
In the top bar, choose “workflow -> Build Mesh”. There is an option to select the level of accuracy, the user should adjust it based on its hardware limitations. One should also check its computer memory to make sure the computer has enough memory to process this step.


7. Workflow – Build Texture
In the top bar, choose “workflow -> Build Texture”. There is an option to select the level of accuracy, the user should adjust it based on its hardware limitations. One should also check its computer memory to make sure the computer has enough memory to process this step.


Visit us at www.weiss-ag.com if you are interested in knowing more about our Civetta.
Article written by Christiane Zhao: https://www.linkedin.com/in/christiane-zhao-a073b4130/